Sunday, April 6, 2014
Daisha & Steven's Tearful Wedding Vows | Jensen Wedding Films | In Full Bloom by MJL | Sun City Lincoln Hills
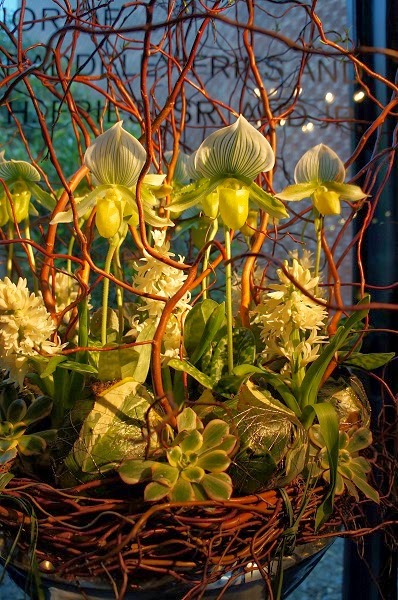
Such beautiful wedding vows captured by Jensen Wedding Films. Check out those gorgeous blooms by yours truly! Wedding at Orchard Creek Lodge, Sun City Lincoln Hills.
Labels:
In Full Bloom by MJL,
Jensen Wedding Films,
Lincoln Hills,
Orchard Creek Lodge,
Sacramento Wedding,
Sun City,
wedding
Thursday, April 3, 2014
Baby Shower: Storybook Theme
When presented with the idea that Kim & Dave love children's books and would like to have them in lieu of cards at their baby shower we book the storybook idea and ran with it! Three of us (my mom, her best friend and I) hosted the shower for my friend Kim. We have been friends since kindergarten (one of my oldest friends)! It is so cool to be this age and see my best friends go through giant milestones in their lives. I cannot wait to meet Kim & Dave's little bundle when she arrives.
In keeping with the storybook shower I took some pieces of wood around the house, sprayed them with chalk paint then wrote sweet quotes from children's books on them. We tried to pair them with toys, book, etc. that complimented the saying. We also did the same thing with food!
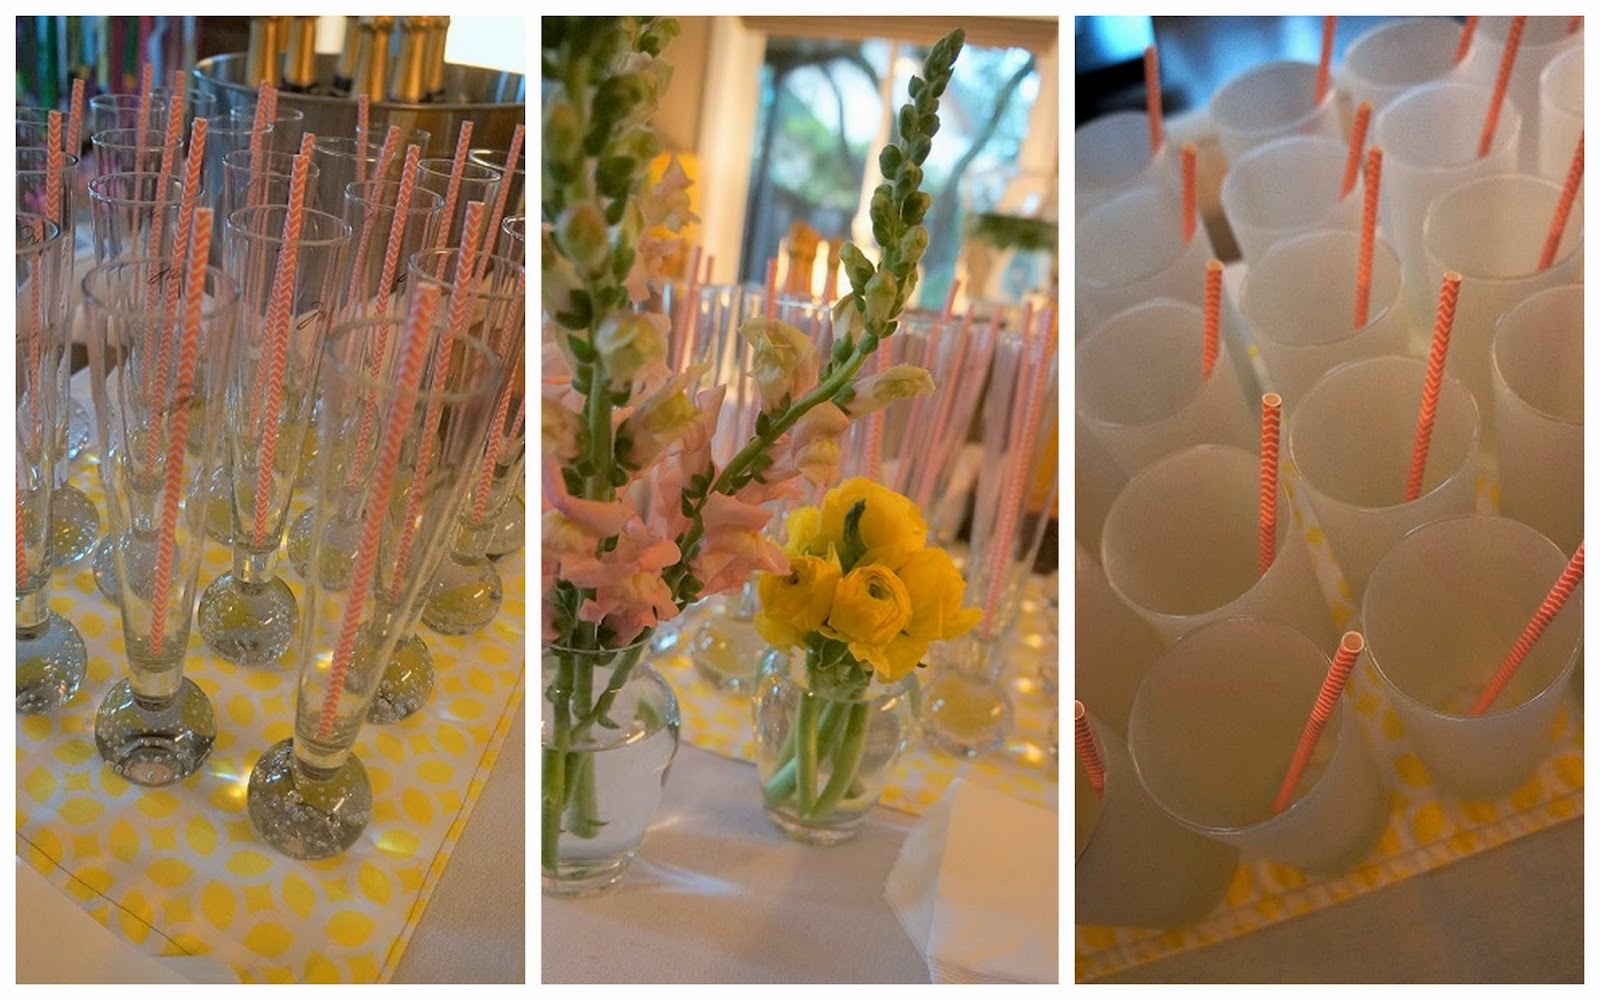
I found some fun chevron paper straws to add a little pop of color in our glassware and we created a delicious mimosa bar with some Renwood Proclamation Sparkling Wine.
The Food
Blueberry Muffins
(Blueberries for Sal & Give a Moose a Muffin)
Fruit Salad
(The Very Hungry Caterpillar)
Egg Casseroles
(Green Eggs & Ham & Chickens Aren't The Only Ones)
Bacon
(The Three Pigs)
Cake- Formed like a Beehive
(World of Winnie the Pooh)
Velveteen Cupcakes
(Velveteen Rabbit)
Oatmeal Cookies
(If You Give a Mouse a Cookie)
The Game
Guess which baby photo belongs to each guest....It's fun to see all the photos of guests as babies. I asked people to email me a photo and printed them all in black and white (to throw off people a little more). I numbered each photo and provided a sheet with the name of each guest participating in the game with a spot to pencil in a photo number. The winner got a bottle of bubbles!
The Decor
Baby Clothes on Clothelines served as easy decor and clothing for the new baby!
Puff balls on string (done with a needle, thread and special help from my cat and boyfriend)
Crepe Paper Streamer (Stacks of crepe paper stacked and tied onto a string of yarn)
Diaper Cake (made with lots of baby extras for the mom-to-be)
Quotes on Wooden Chalkboards
Fabric
Flowers
Paper Straws
Children's Books
Labels:
Baby Shower Decor,
Baby Shower Games,
Baby Shower Menu,
In Full Bloom by MJL,
Sacramento Event Stylist,
Sacramento Event Planner,
Story Book Baby Shower,
Storybook Baby Shower,
Winnie The Pooh Baby Shower
Monday, March 31, 2014
Bouquets to Art 2014: de Young, San Francisco
I am so excited to share this year's photos from my trip to see the annual Bouquets to Art Exhibit at the de Young Museum in San Francisco! This is an exhibit where floral designers from all over the world interpret pieces of art in the museum through their very on floral creations. This is my second time attending and would highly recommend it! Which piece is your favorite?
Friday, March 28, 2014
DIY: Herb Garden
From time to time I get these hair-brained ideas that I must conquer. This day in age DIY projects are often fueled by pinterest and this DIY herb garden was no exception. Working in the Napa Valley has allowed me access to many wooden pallets. This got my wheels turning....what could I possibly use these for? My first wooden pallet project was constructing something to 1) decorate our front porch 2) upcycle a pallet 3) provide me and my man with fresh herbs right at our fingertips and 4) do a fun project as a couple (mainly, he constructed and I took care of the details...drainage, soil & plants)!
Materials Used:
Wooden Pallet
10' Galvanized Rain Gutter
6 Rain Gutter End Caps
Screws
Mesh Screen
Rocks
Soil
Plants
Step 1: Cut the rain gutter.
We used a shop saw and were able to cut it into three 40" pieces.
Step 2: Secure the end caps onto the segments of gutter. We used a rubber mallet and pliers to pinch them on. Be careful because the ends of the gutters are extremely sharp!
Step 4: Screw the gutters into the pallet. We used a screw in the center, then leveled it and drilled screws into each side.
Step 5: Cover the drainage holes with mesh to prevent soil from coming out of the base of the cutter.
Step 6: Fill the bottom of each gutter with rocks for better drainage.
Step 7: Fill in the gutter with a layer of soil.
Step 8: Set in your plants where you would like. You can play around with the layout to see what works best.
Step 9: Once you're satisfied with the layout plant your herbs! If the plants are a little rootbound in the plastic container you can break them away a little bit. Plant them in the trough so that the top of the plant is pressed into the soil about an inch below the top line of the gutter. You want to be able to water your plants without instantly filling it with water and having soil dump over the sides.
Step 10: Water all of your plants once they're planted and enjoy your herbs!
Materials Used:
Wooden Pallet
10' Galvanized Rain Gutter
6 Rain Gutter End Caps
Screws
Mesh Screen
Rocks
Soil
Plants
Step 1: Cut the rain gutter.
We used a shop saw and were able to cut it into three 40" pieces.
Step 2: Secure the end caps onto the segments of gutter. We used a rubber mallet and pliers to pinch them on. Be careful because the ends of the gutters are extremely sharp!
Step 3: Drill holes in the bottom of the gutters for drainage. We drilled holes every few inches.
Step 5: Cover the drainage holes with mesh to prevent soil from coming out of the base of the cutter.
Step 6: Fill the bottom of each gutter with rocks for better drainage.
Step 7: Fill in the gutter with a layer of soil.
Step 8: Set in your plants where you would like. You can play around with the layout to see what works best.
Step 9: Once you're satisfied with the layout plant your herbs! If the plants are a little rootbound in the plastic container you can break them away a little bit. Plant them in the trough so that the top of the plant is pressed into the soil about an inch below the top line of the gutter. You want to be able to water your plants without instantly filling it with water and having soil dump over the sides.
Step 10: Water all of your plants once they're planted and enjoy your herbs!
Subscribe to:
Posts (Atom)